Presentation
There are several ways in which you can install a module. There are several options for installation, depending on the site where you made your purchase.
– Automatic installation of the modules purchased at addons.prestashop.com
– Manual installations of modules uploaded from your back office
– Manual installations of modules uploaded by FTP
Automatic installation of the modules purchased at addons.prestashop.com
The modules you purchase at Prestashop Addons can be installed automatically – directly from the back office for your shop.
To do this, go to Modules in your back office, then log in using your Addons login details.

Once logged in, the modules that you have purchased from Addons will appear in the list of modules below. They are marked with an icon indicating that it has been purchased next to the name of the module.
![]()
Just click Install Module for the module you want to install.
Manual Installation
Once you have purchased the module, you need to download it in order to install it.
We will now look at how to install a module that was purchased from presta-module.com or addons.prestashop.com
Module purchased from presta-module.com
Once you have purchased your module, you need to download it in order to install it.
Go to the Presta Module website and log in.
You are taken to the My Account page when you log in :
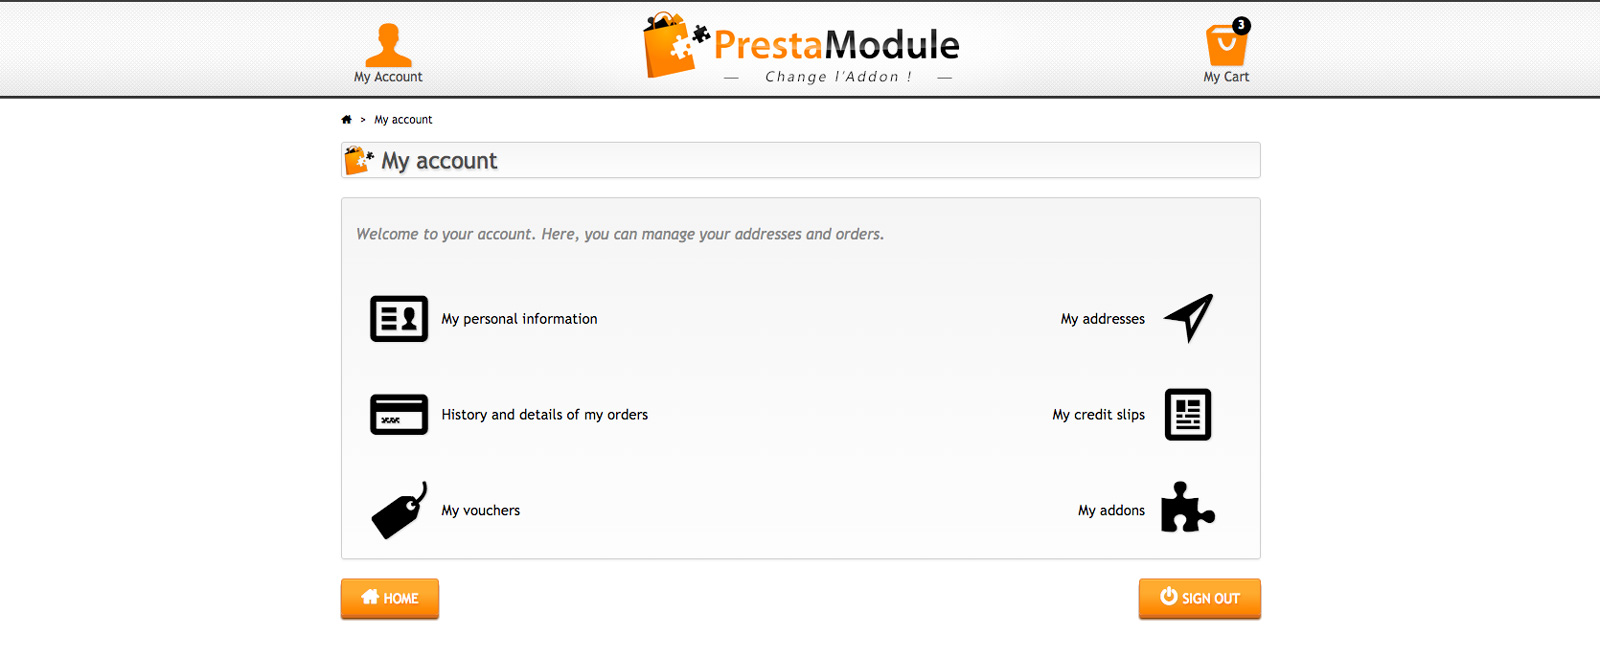
Then click My Addons
This takes you to the page that lists the licenses that you have purchased.
Click
![]()
for the module you want to download.
The site redirects you to the following page:
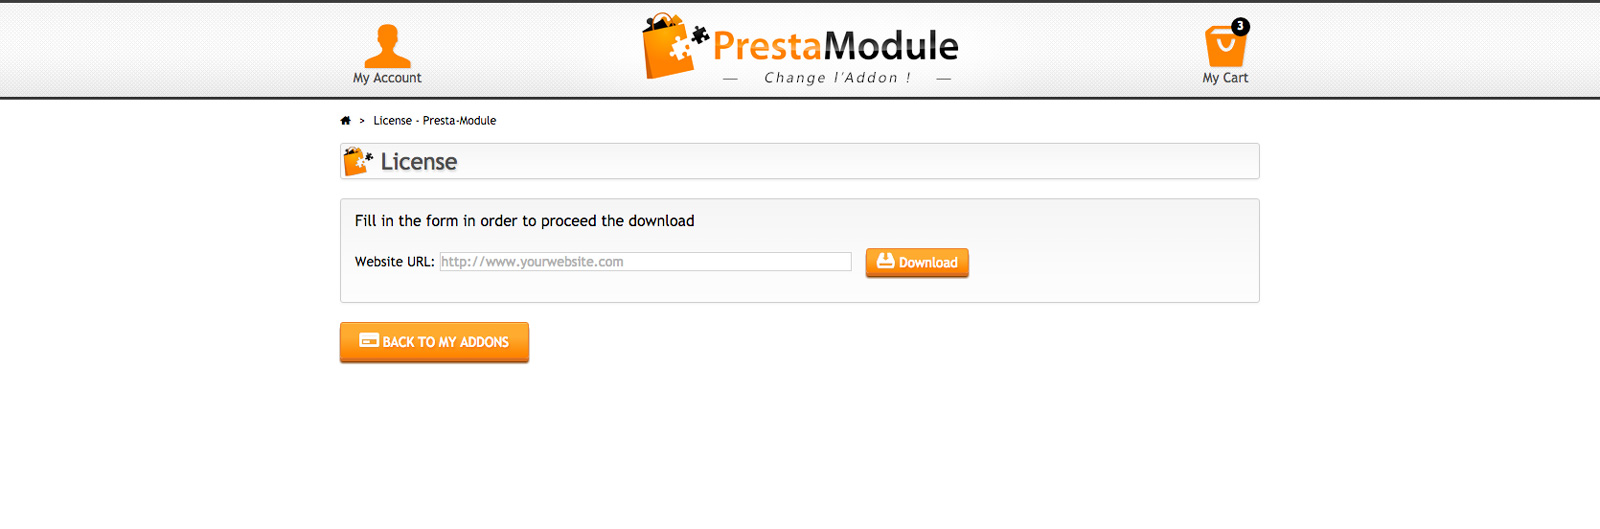
Enter the URL for your site in the field provided to this end, taking care to follow the template given in the autofilled text i.e. “http://www.yoursite.com”, then click Download.
You may not ask for an exchange or refund from this point on.
The module starts to download. Once it has finished, go to the folder where you saved the module. In it you will find a ZIP file with the same name as the acronym for the module.
E.G.
Module purchased from PrestaShop Addons
To download the module you purchased from the PrestaShop Addons platform, go to addons.prestashop.com.
Log in, then click on “Hello [your name]” at the top right of the page to open the dropdown menu.

Click on the first link Downloads.
You will then be taken to a list of your purchases. Look for the module you want to download.
E.G.

Then click  (Download).
The website will then ask you to enter the URL for your site. Once you have entered your domain name, click See Downloads.
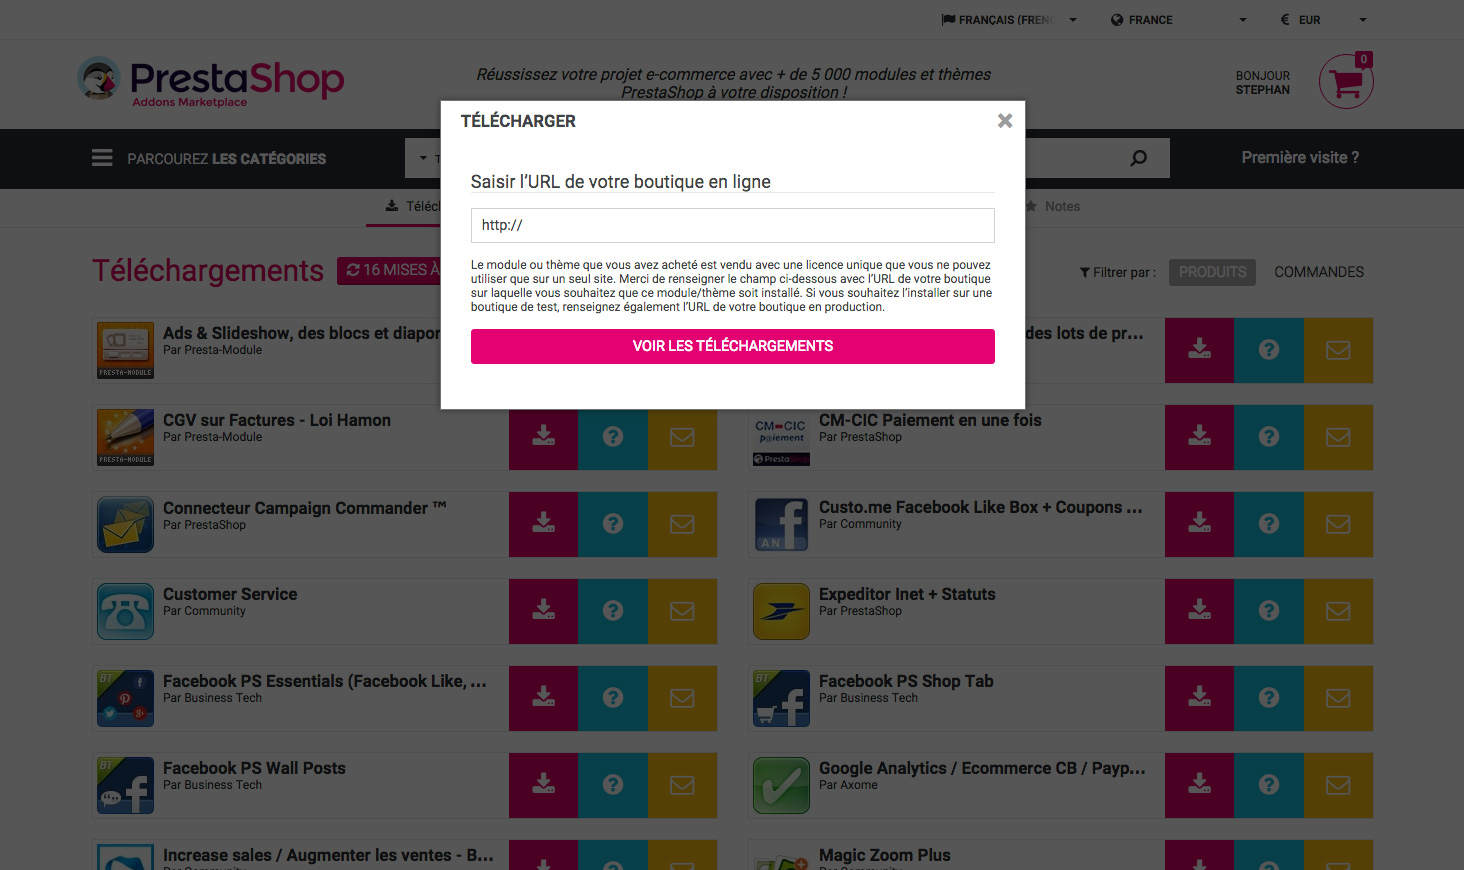
Click the Prestashop version for your site to start the download.
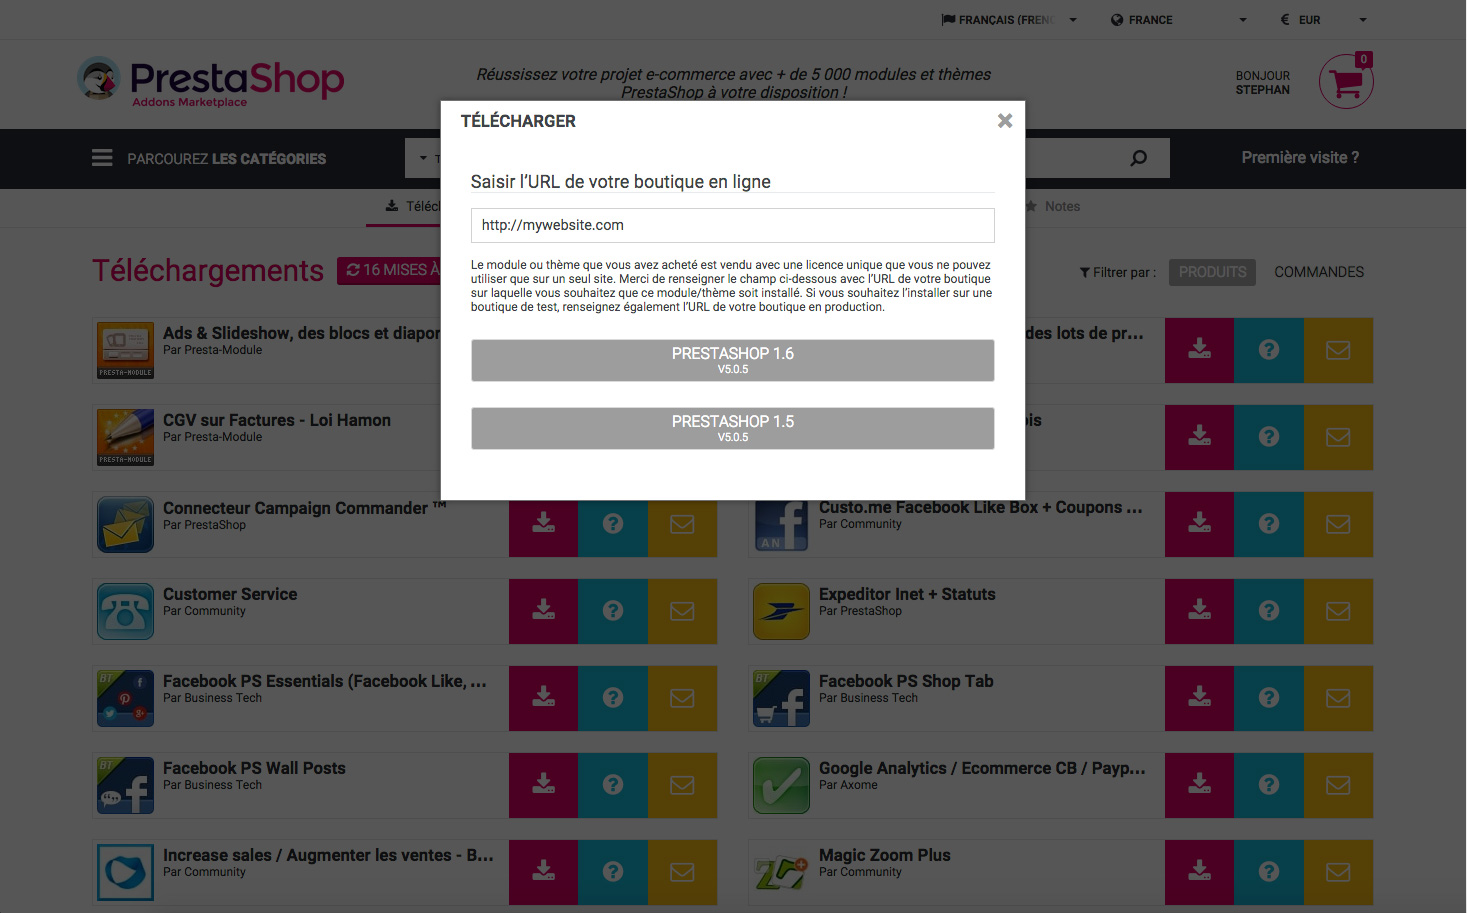
Once the download is complete, you will have a ZIP file with the acronym for the module as its filename.
Installing the module
The rest of this tutorial concerns modules that have been downloaded as Zip files. If you downloaded your module from the back office, by logging into Addons, you can skip to configuration.
Once you have the Zip file for your module, you will need to send it to your server in order to use it. There are two ways of doing this:
Installing the Module from the Back Office
We will install the module from the back office This method does not require any specific know-how.
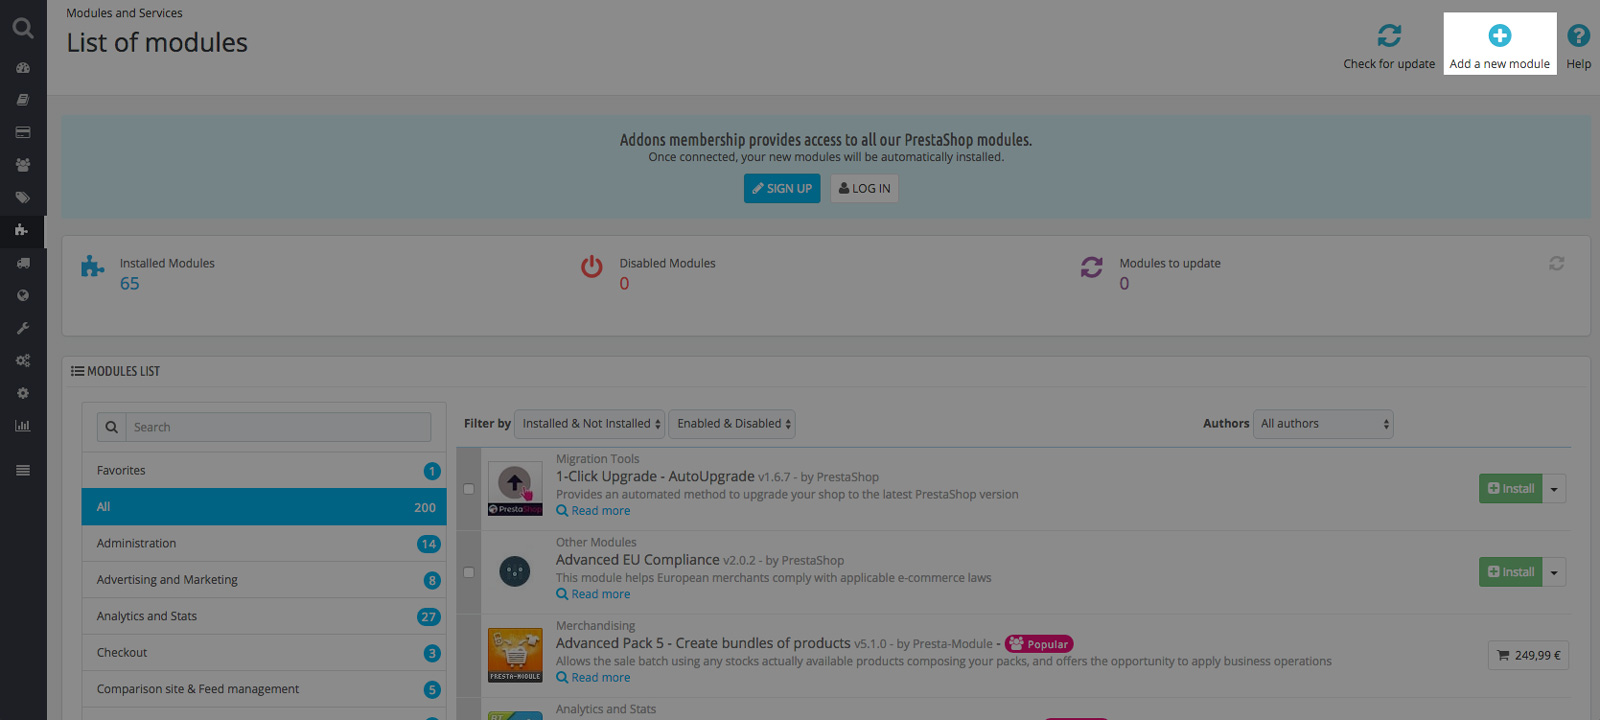
To start the installation, go to Modules in the back office of your shop. The List of Modules then appears To add a module from a ZIP file, click Add New Module.
A new pane appears, allowing you to import a file.
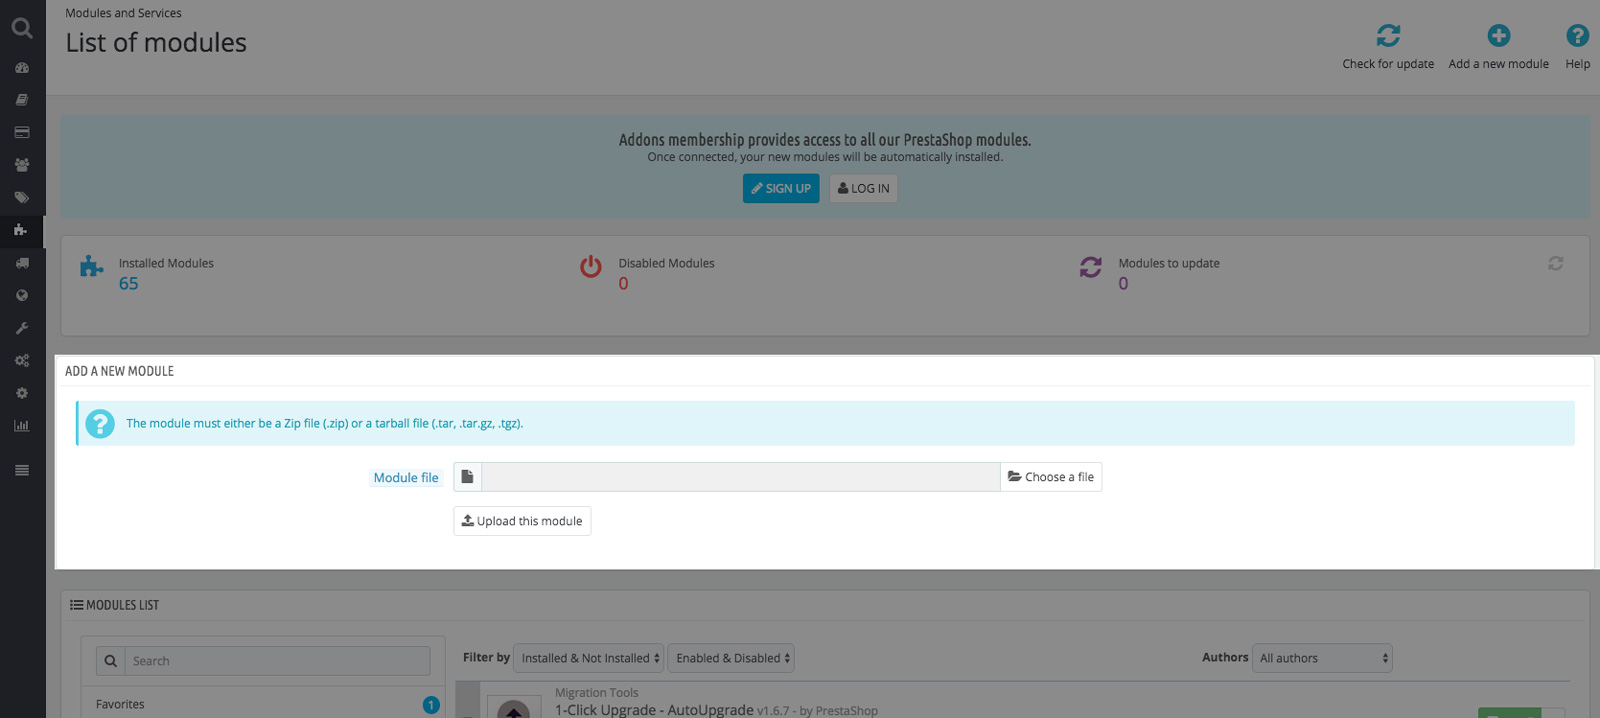
Click Choose File A window then opens, allowing you to select the ZIP file for the module you want to install.
Once you have selected the file, click Open and then Upload module.
If the upload is successful, you will see the following message.

The list that follows this confirmation message only contains the module that you have added. Then click Install, so that PrestaShop installs the module.
![]()
Finally, once the installation is complete, just click on Configure to configure the module.
![]()
Installing the module via FTP
You need to have access to your shop files to use this method. This means you need an FTP client. So ensure you have an FTP client and the FTP login details for your server in order to proceed. Also check that you have the necessary rights to modify the files on the server.
First off, unzip the ZIP archive on your computer. You now have a folder with a named “pm_” followed by the name of the module. It is this folder that we are going to use for the installation.

Open your FTP client and log into your server using your login details
Once logged in, go to your PrestaShop folder. Find and go to the modules folder.
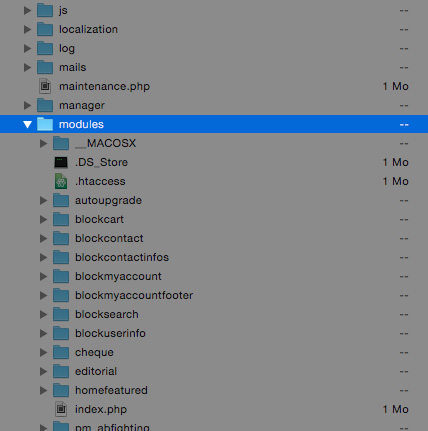
Drag the unzipped folder for the module to be installed to the modules folder on your server.
When the files have been sent, go to Modules in your back office and find the module you just sent. Click Install, so that PrestaShop installs the module.
![]()
Finally, once the installation is complete, just click on Configure to configure the module.
![]()