Presentation
SEO Internal Linking allows you to generate internal links between the different pages of your PrestaShop shop so as to improve the search engine referencing of your shop.
This allows you to create groups of pages to be associated with keywords, so as to create pertinent links for your referencing.
General Points and Operating Principles
SEO Internal Linking has been designed to allow you to optimise the internal linking between your pages.
This module supports an unlimited number of links, so your linking can be as detailed as you like. These links may be placed in the descriptions on your product sheets or on your home, category, CMS, manufacturer or supplier pages.
You may also specify the position of the links when the term in question is used several times on a page.
Installation
To install SEO Internal Linking, see our tutorial on how to install a module here.
Configuration
You will need to be able to access the configuration panel for the module in order to set its parameters. To this end, go to the back office of your shop and navigate to Modules. Look for SEO Internal Linking and click Configure.
![]()
You are now in the admin interface for the module. This is where you can set the parameters of the module to suit your needs.

General Options
Do Not Add Links in Headings (h1, h2, etc.)
![]()
This allows you to prevent the links to be created on your pages from being added to h1 and h2 header tags.
Description Field to be Used (for the products)

This allows you to set the description field to be used when generating your internal links
These fields shall be retrieved from your product sheets.
Number of Lines to be Displayed in the Tables

This allows you to set the number of lines to be displayed in the tables under Group List and Expression List. These lines shall show your groups and expressions.
List of Groups
Create Group
![]()
This allows you to create a new group of pages.
Group Name
![]()
This allows you to define the name for the group being created/edited You can set a group name for each language that you have installed for your shop.
Type of Group

This allows you to set the type of pages that the group will use. Each type of group gives you access to a page selector for the category, as explained below.
Products
This allows you to choose Product pages. Your links will be created in the descriptions on your product pages.
Categories (via Products)
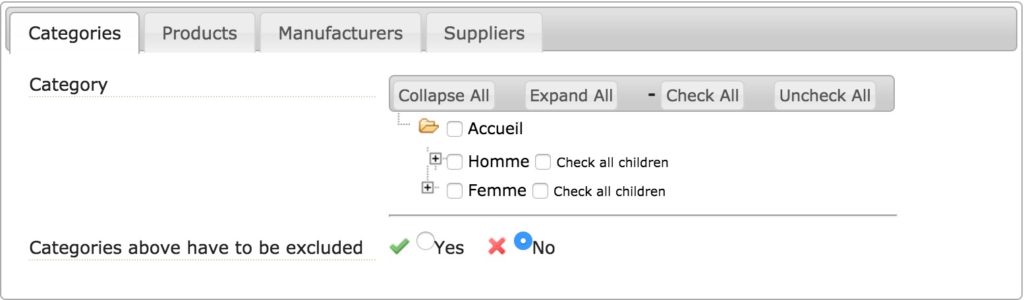
This allows you to select one or several categories and thus refine the list of pages affected by this group
Products (via Products)
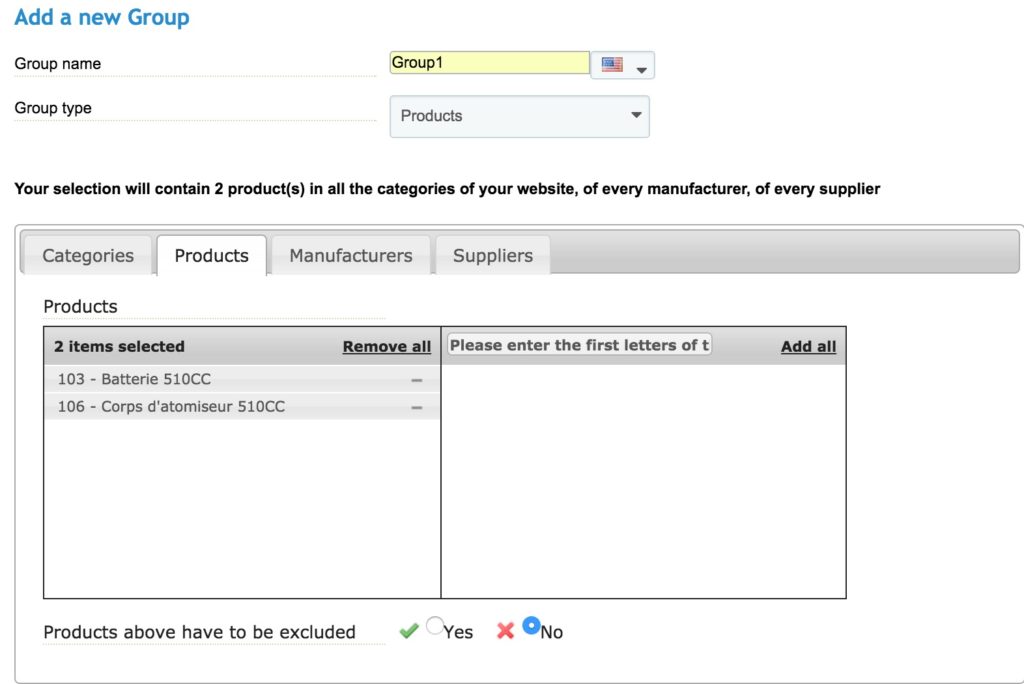
This allows you to select one or several products and thus refine the list of pages affected by this group. To add a product, just search for it by name in the right-hand column, using the search box, then click on its plus sign. It will then be placed in the left-hand column, to indicate that it has been added. To delete a product from this list, go to the left-hand column and click the minus sign for the product to be deleted.
Manufacturers (via Products)
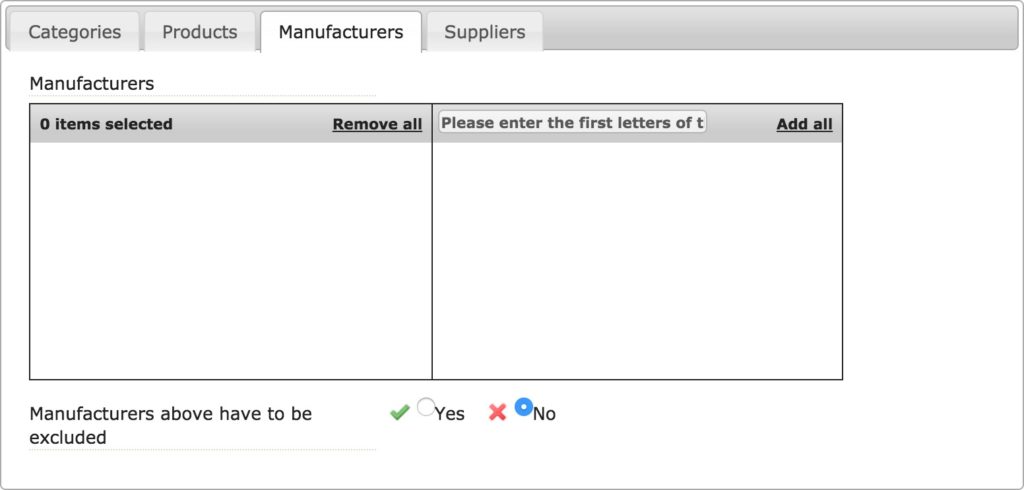
This allows you to select one or several manufacturers and thus refine the list of pages affected by this group.
Suppliers (via Products)
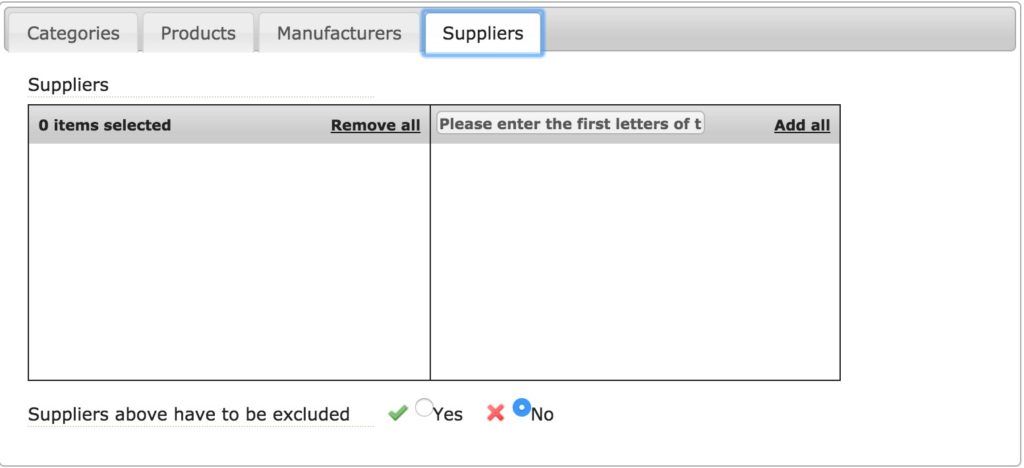
This allows you to select one or several suppliers and thus refine the list of pages affected by this group.
CMS
This allows you to choose CMS pages. Your links will be then be created on your CMS pages.
CMS Pages
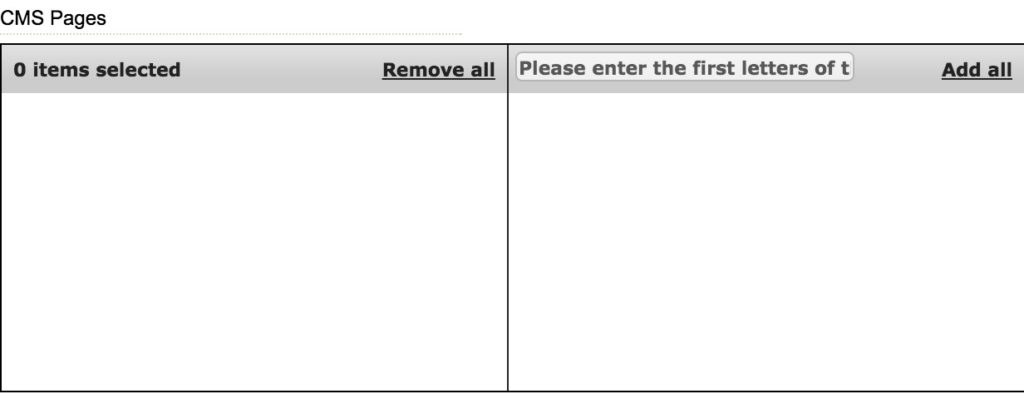
This allows you to choose the CMS pages for the current group. There is also an option that allows you to exclude the CMS pages selected, which then inverts your selection.
Home Page Editing Module
This allows you to activate the creation of links in the description created by the home page editor module. Just create your expression and select this group.
Categories
This allows you to choose Category pages. Your links will be created in the category descriptions.
Category

This allows you to define the categories for the current group.
Manufacturers
This allows you to choose Manufacturer pages. Your links will be created in the manufacturer description.
Manufacturers
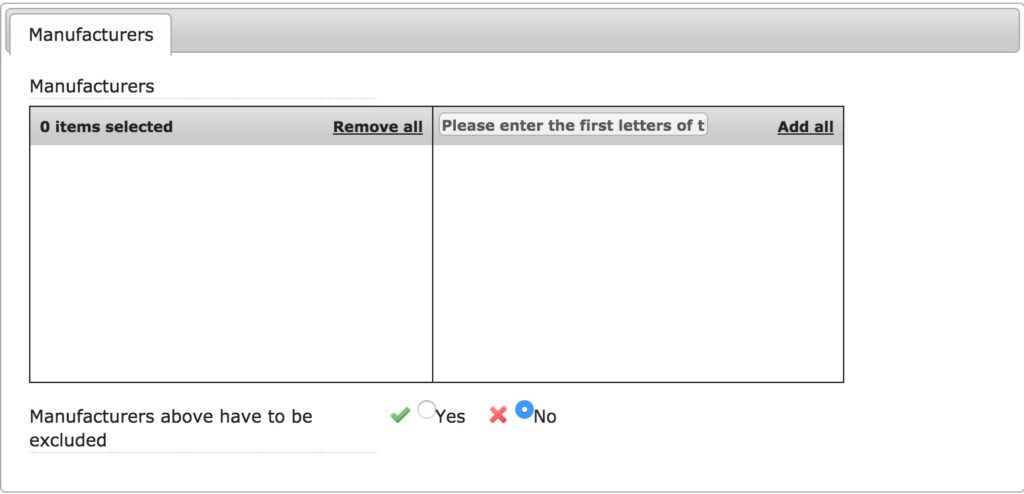
This allows you to set the manufacturers for the current group. You can also exclude the manufacturer selected, in which case the other manufacturers will be those in the group.
List of Expressions
Add Expression
![]()
This allows you to create a new expression. Expressions are keywords that are used for internal linking. These keywords will be used for your internal linking after they have been associated with a group.
Language to be Used

This allows you to select the language to be used for this expression from among all the languages currently installed on your PrestaShop shop.
Group to be Used

This allows you to set the group to be associated with the expression currently being edited.
Expression (one or several words)
![]()
This allows you to set the keywords to be used for the internal linking.
URL associated with the expression
![]()
This allows you to enter a URL for the expression being edited.
You need to give the full URL. If you do not give the full URL, the expression used will be added to the end of the current URL, i.e. the URL for your back office and your clients will therefore not be able to access it.
URL Title (maximum 100 characters)
![]()
This allows you to define the title for the URL that will be created
Position of the Link

This allows you to set the position to be used by the link. You can choose between 3 positions on your page: top, middle or bottom.
Top means that the first term in the description that matches the expression will be turned into a link. Bottom means that the last term in the description that matches the expression defined will be turned into a link. Finally, middle means that the module will choose a term in the middle of the description and turn it into a link.
Add the NoFollow Attribute (search engines will not follow this link)

This allows you to allocate a noFollow attribute to your link. This attribute tells search engines not to follow this link when they browse your shop.
Open Link in a New Window/Tab
![]()
This allows you to open the link created in a new window/tab rather than in the current browser tab.
Activate Expression
![]()
This allows you to activate or deactivate the expression being edited.
Optimisation
Optimize all
This allows you to launch the SEO process. The module will create internal links between all your pages during this process, taking the expressions you configured above into account.
Optimize all Products

This allows you to launch the SEO process for your Product pages, whilst taking the expressions you configured above into account.
Optimize all CMS Pages
This allows you to launch the SEO process for your CMS pages, whilst taking the expressions you configured above into account.
Optimize all Category Pages
This allows you to launch the SEO process for your Category pages, whilst taking the expressions you configured above into account.
Optimize all Manufacturers
This allows you to launch the SEO process for your Manufacturer pages, whilst taking the expressions you configured above into account.
Optimize Home Page Management Module
This allows you to launch the SEO process for the description that the home page management module displays on your home page.
Delete Internal Linking
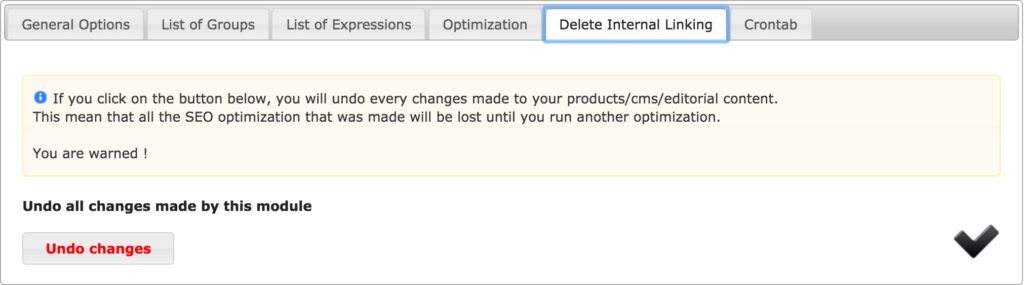
This allows you to delete any optimisation previously performed by the module.
Crontab
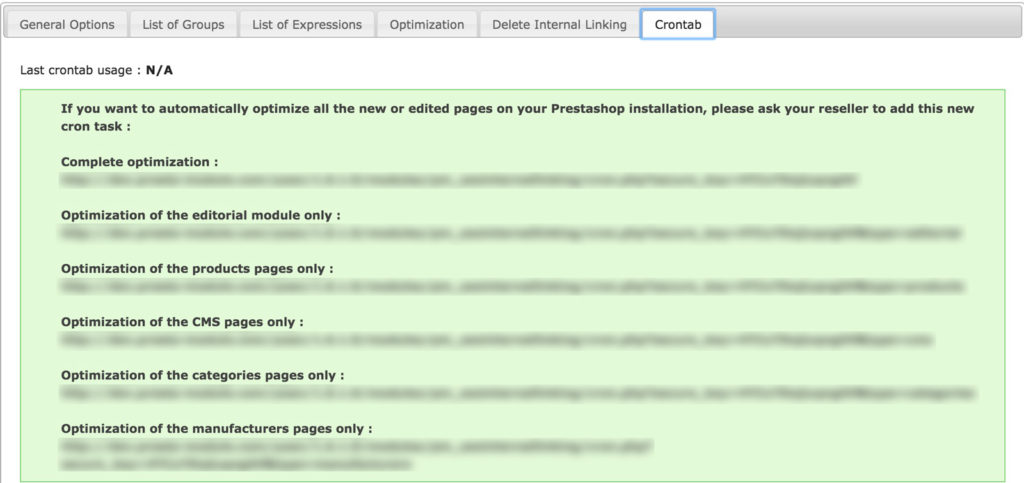
This allows you to retrieve the SEO links for your shop so that you can schedule cronjobs.
You are given a link that performs each optimisation proposed by the module. Just retrieve the URL for the optimisation you want to schedule then contact your hosting provider and ask them to create a cronjob, giving them this URL.
Tutorial
This section is a step-by-step guide for how to create a SEO link on your shop.
We will start by going to General Options to specify that we want to optimise the short and long description fields for our products.

We will then define the optimisation perimeter for the module by creating a new group for our SEO link. The group in this example will be called Group 1 and must apply to two specific product pages, so the type of group is therefore Products. The two products for which the links are to be created are added under Products, using the search box and are placed in the left-hand column when they have been added.
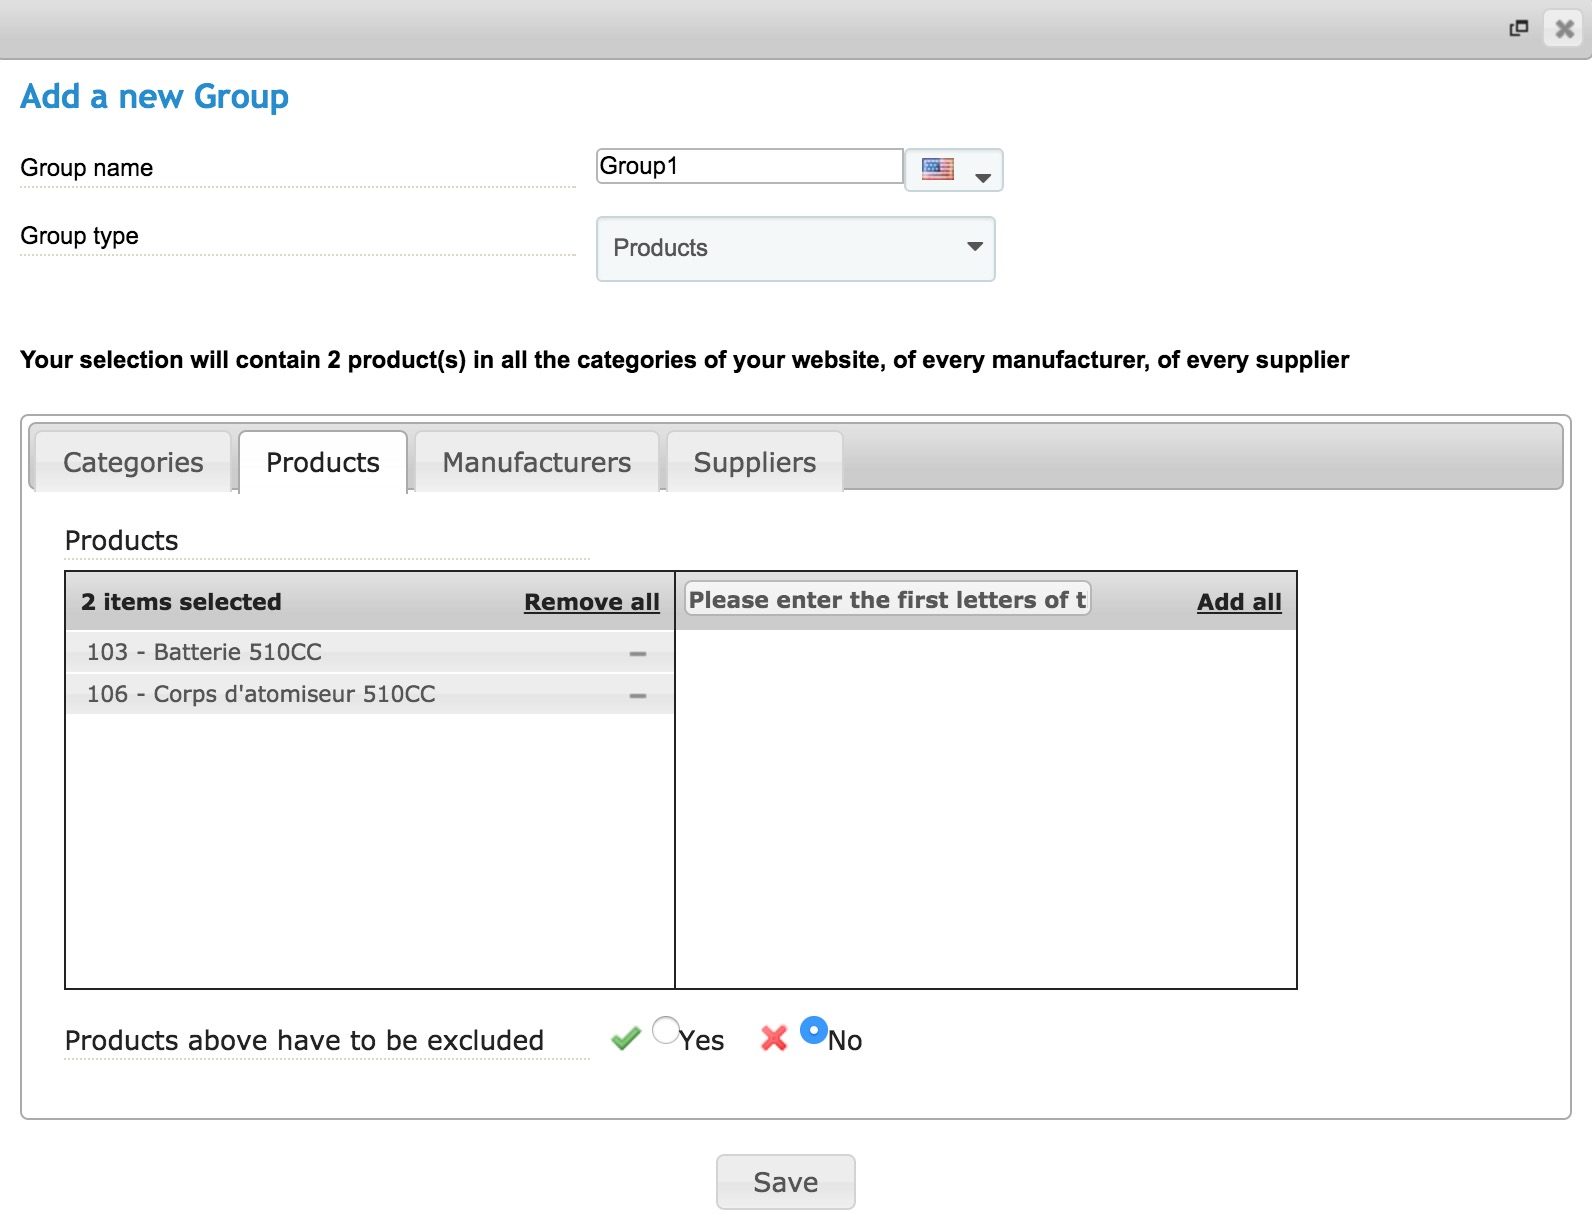
Save your group configuration, then navigate to List of Expressions.
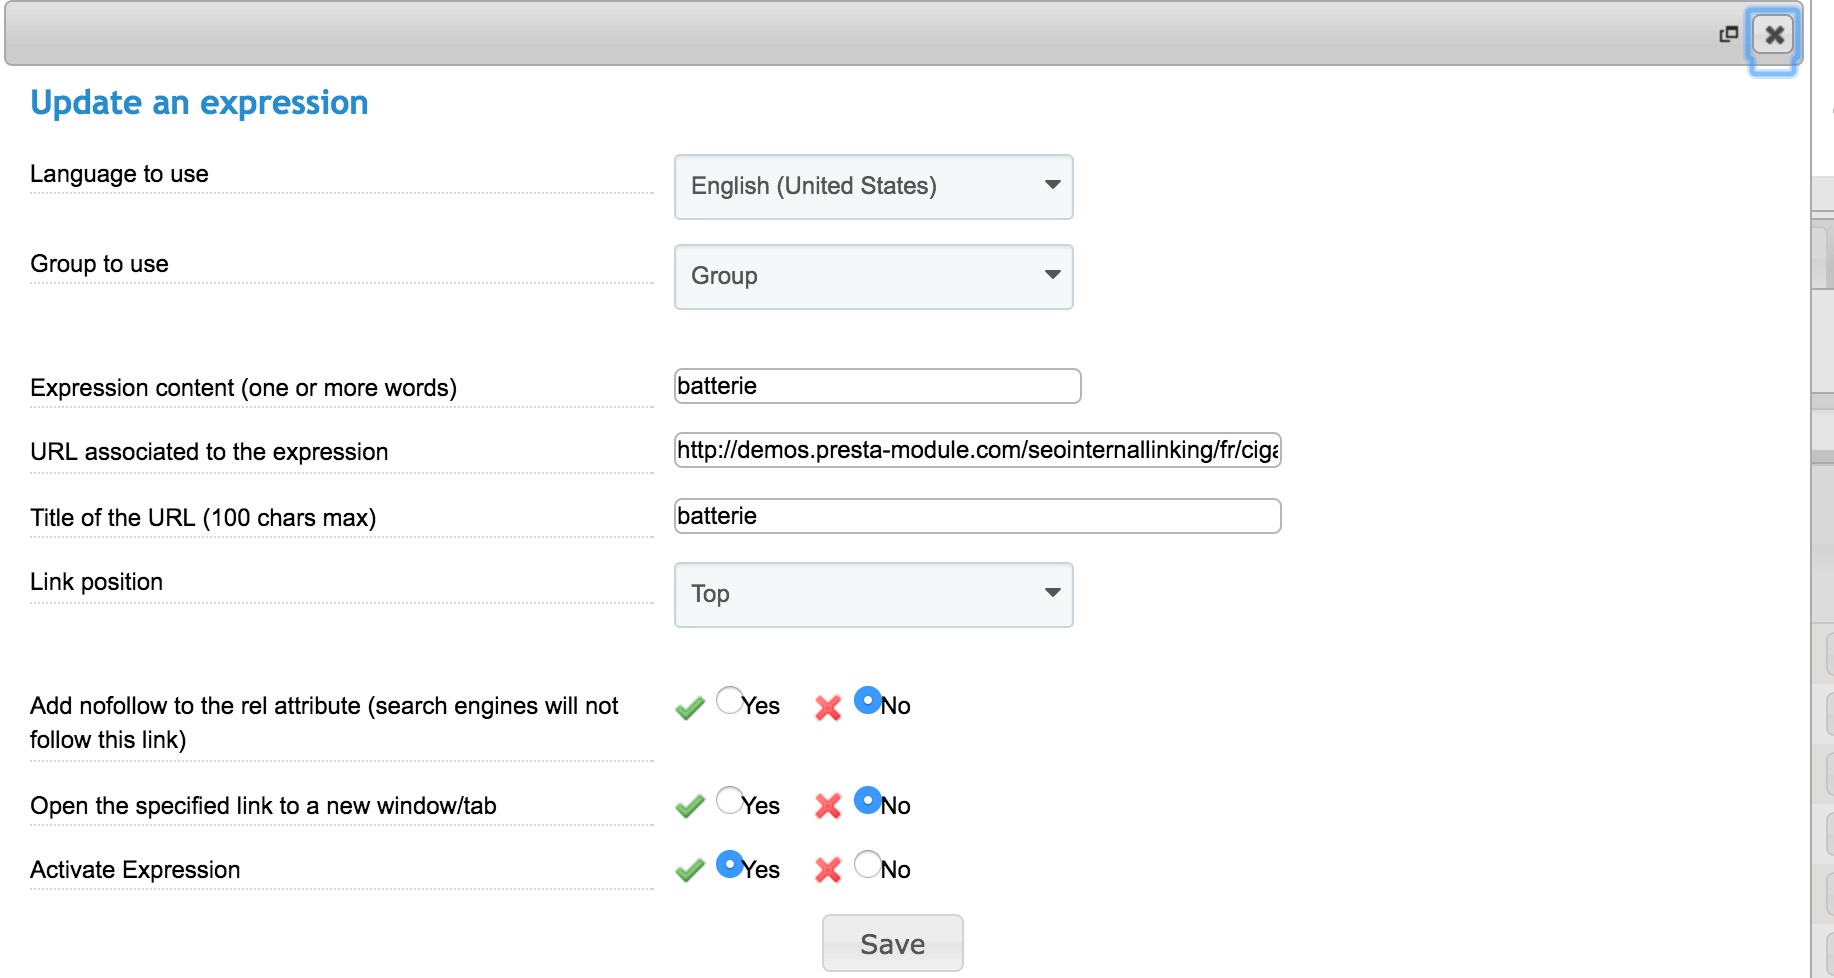
Create a new expression, then allocate the group created above to this expression, Group 1, in this case.
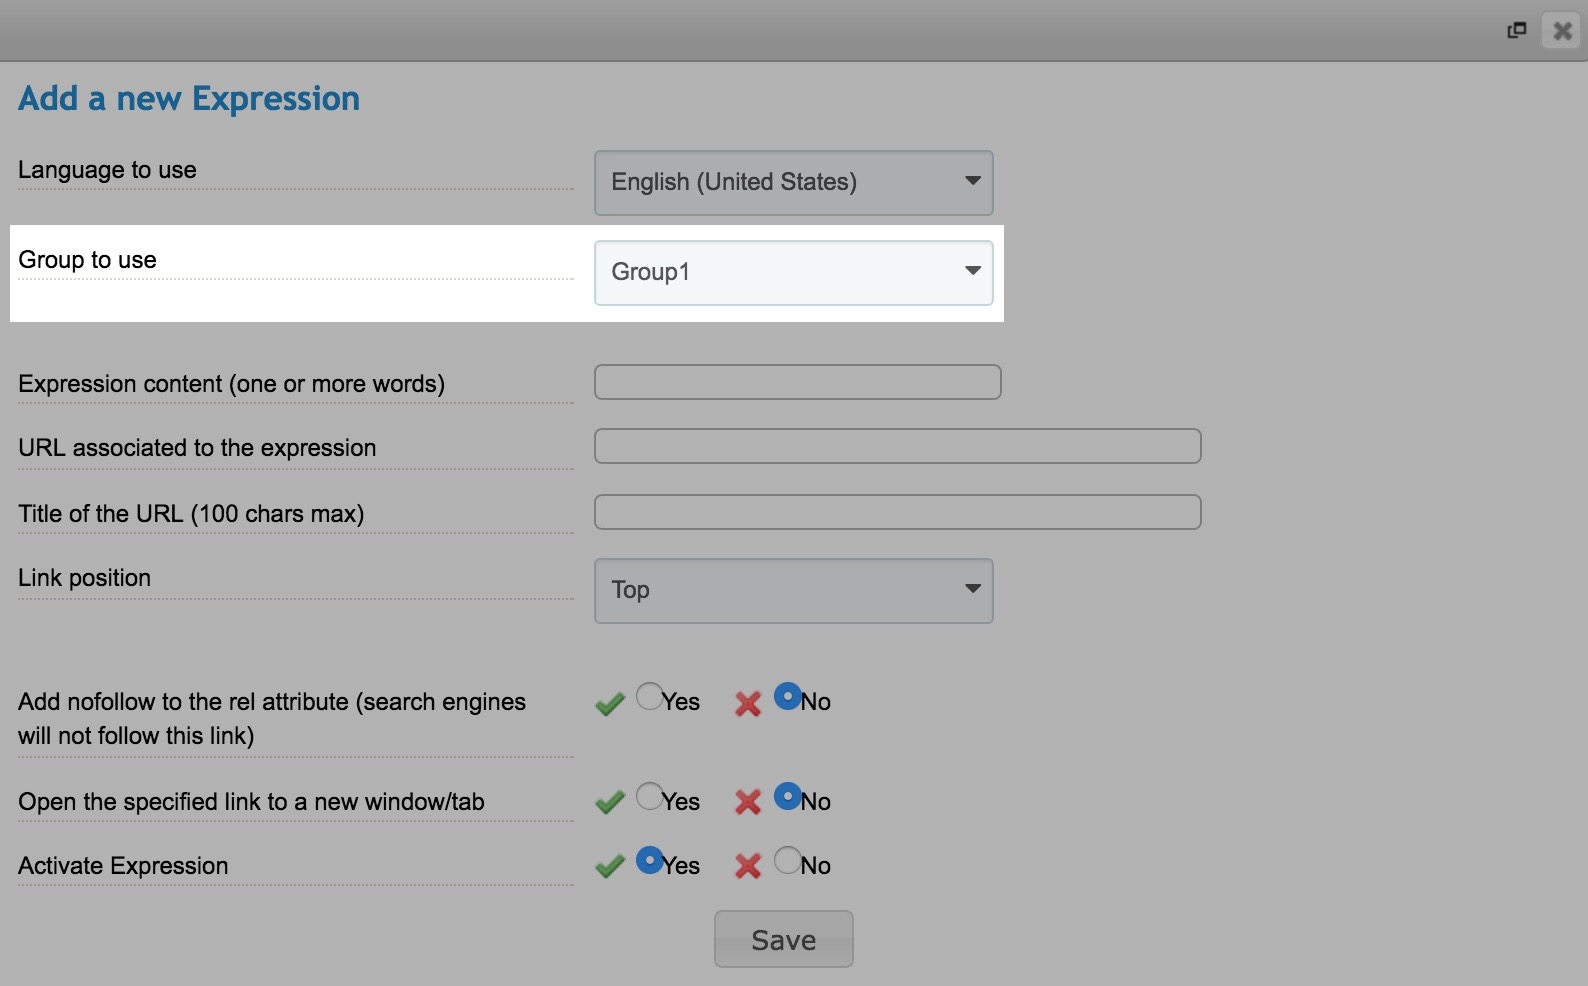
Then enter the word or words that you want to use to create a new link in the Expression field.
We know that the two products listed above have the keyword “battery” in their description and we want to automatically insert a link to another page on our site that uses these keywords.
The URL associated with the expression is the link to which the customer will be taken if they click on the selected expression in the description on our product sheets.
The URL title is the text that will be displayed if your customer passes their mouse over the link that has just been created in the product description.
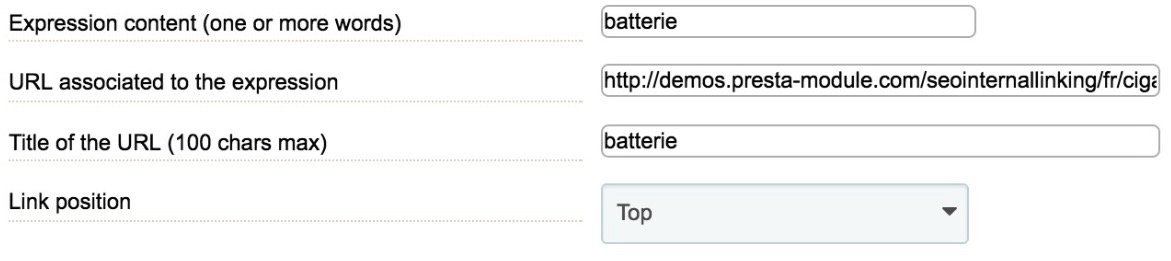
You must now define the position of the link that will be created in the product description if there are several occurrences of the same keyword. Top means that the first term in the description that matches the expression will be turned into a link. Bottom means that the last term in the description that matches the expression defined will be turned into a link. Finally, middle means that the module will choose a term in the middle of the description and turn it into a link.
The link here will be placed at the top of the description.
The last 3 options are to be set according to your requirements. In this example the noFollow attribute will not be activated, the link will be opened in a new tab and the expression will be active.
Once you have finished with configuration, go to Optimisation and click Optimise All. The module will then generate the links by applying the previously-saved configuration.
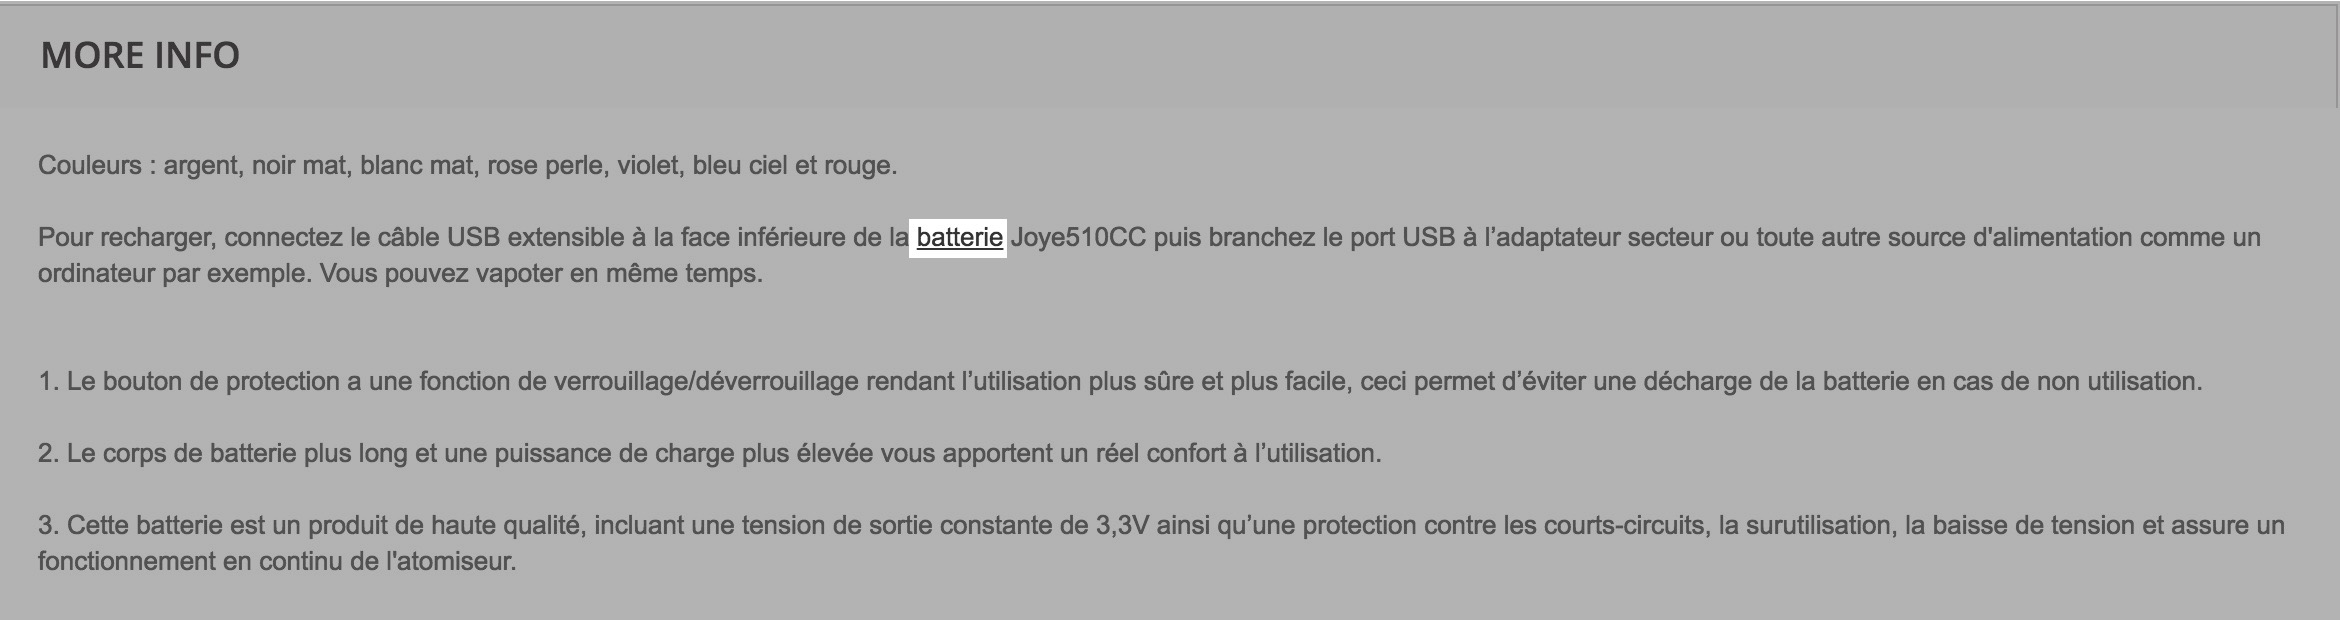
When optimisation is complete, navigate to, or the sheets for the products to which your configuration applies and check that the links have been placed on the target expressions (the word “battery”, in this instance).
We can see here in the description that a link has been placed on the term “battery” as indicated in the settings.
You will need to re-optimise the type of group to which the modification applies, using the buttons available under Optimisation if you modify your configuration.