I – Presentation
Advanced Cookie Banner allows you to automatically display a banner informing your customers about the cookie’s usage on your shop.
It is THE ONLY module for PrestaShop compliant with the latest regulations, such as:
- the GDPR (General Data Protection Regulation) of May 2018, which makes it mandatory to collect the informed consent of visitors regarding the installation of cookies on their browser
- the guidelines and the recommendation of the CNIL of October 2020 regarding the use of cookies and other tracers (in force since March 2021)
- the new AEPD (Spanish Data Protection Agency) guidelines on cookie consent (in force since January 2024)
- etc…
II – General Points and Operating Principles
First and foremost, our module is using the new Google rules regarding the cookie banners on mobile, allowing you to not be penalized in terms of your SEO. You can find more informations about these rules by clicking here.
Our module doesn’t use any override to prevent the selected modules from execution.
Furthermore, it is shipped with a default banner text for each language of the European Union. Plus, you can find examples of explicatives pages for each language, usable as CMS pages, here.
Finally, our Simulation Mode only displays your banner systematically to the ip addresses defined in the Maintenance tab of your back-office, so you don’t bother your customers while customizing your banner.
III – Installation
To install Advanced Cookie Banner, see our tutorial on how to install a module here.
IV – Configuration
Simulation Mode
Go to the “Simulation” tab.
Simulation mode activation
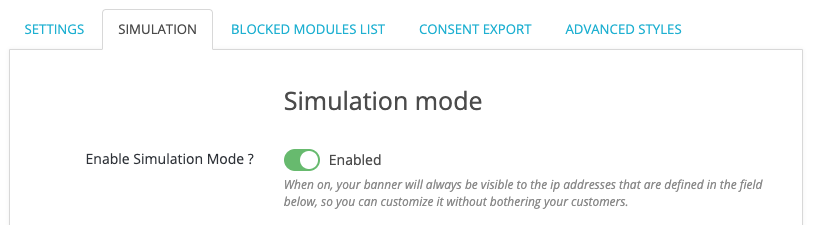
This option allows you to enable Simulation Mode. Once enabled, your banner will only be displayed systematically to the ip addresses defined in the Maintenance tab of your back-office, so you can customize it.
In Simulation Mode, the selected modules in the “Blocked modules list” tab will be blocked, like if you were a customer that didn’t accepted the terms yet.
Once your configuration is completed, you can disable this option so your banner to regain its default behavior.
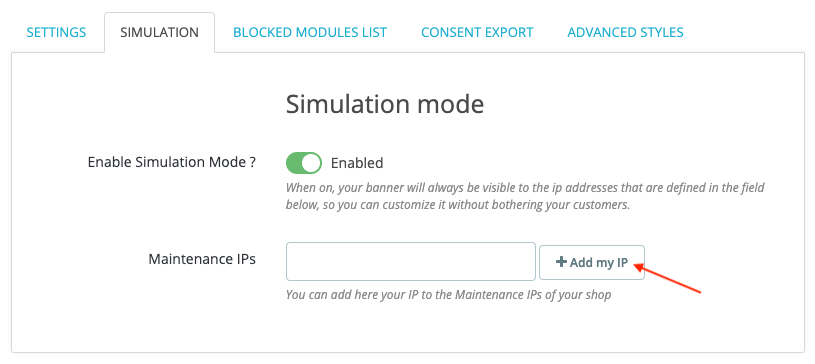
Maintenance IP addresses
You can also add your IP address to those in the Maintenance tab by clicking on “Add my IP”:
Banner Settings
Go to the “Settings” tab.
Banner Position
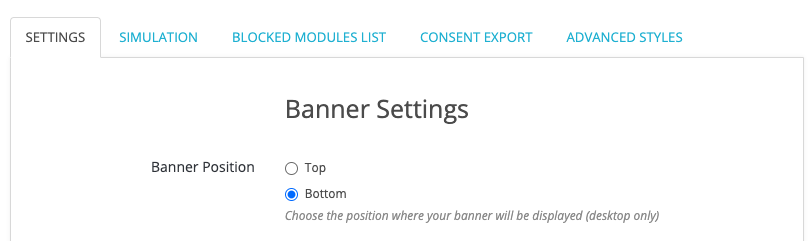
This option allows you to define the position of your banner, which can be placed at the top or the bottom of the page.
On mobile, the banner will always be displayed at the top of the page.
Banner Background Color

This option allows you to define the background color of your banner.
Banner Background Opacity

This option allows you to define the opacity of your banner’s background, in percentage.
A 0% opacity will make your background invisible, but a 100% opacity will make it opaque. Defaultly, the opacity is defined to 75%
Banner Font Color
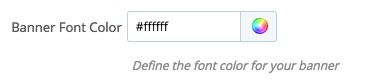
This option allows you to define the font color in your banner.
Banner Font Size

This option allows you to define the font size in your banner.
Text Align
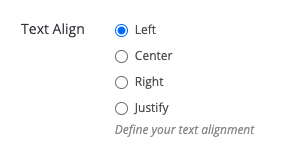
This option allows you to define the text alignment in your banner.
Banner Border Color

This option allows you to define the border color of your banner.
Banner Border Size

This option allows you to define the thickness, in pixels, of your banner’s borders.
Banner Content
Content to be displayed in the banner
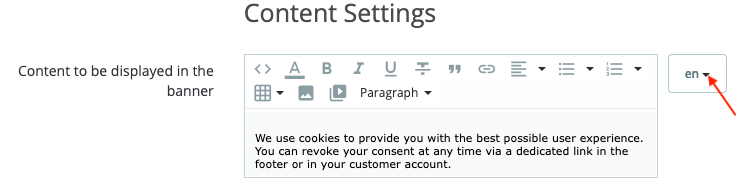
This option allows you to define the text that will be displayed in your banner.
Attention: do not forget to translate your text in all the languages of your site (to switch between languages, click on the language drop-down menu to the right of the field). By default, our module is provided with a standard text for each language of the European Union.
CMS page
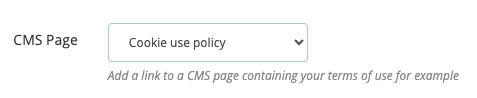
This option allows you to add a link to the CMS page detailing your cookie policy, below the banner text.
Label of the link to the CMS page

This option allows you to customize the texte of the link to the CMS page you have chosen above. If you do not fill anything, the “More information” text will be used.
Attention: do not forget to translate your text in all the languages of your site (to switch between languages, click on the language drop-down menu to the right of the field).
Settings of the consent customization panel
Customization panel activation

This option allows you to include a “Customize” link in the banner, enabling your visitors to select in detail and on an individual basis, the modules for which they authorize cookies (this level of granularity may be required by your country/data protection agency to comply).
Customization panel text
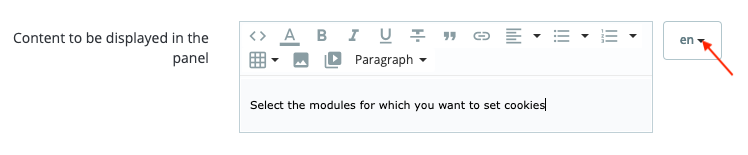
You can add an explanatory text in the customization panel.
Attention: do not forget to translate your text in all the languages of your site (to switch between languages, click on the language drop-down menu to the right of the field).
Revocation settings
Display of the link to revoke consent

A link to revoke consent is automatically included in the customer account. You can also display this link in the footer of your site, for those who have not yet created a customer account.
Link to reset consent

We provide you with the revocation link so that you can position it wherever you like on your store as well as on the CMS page detailing your cookie use policy.
Cookies to remove

When a customer decides to revoke his consent via the link provided above, our module automatically deletes cookies that are listed here. The field “Cookies to remove” allows you to add modules to this list. Enter the name of the modules separating them by a comma.
Button Settings
Button font size
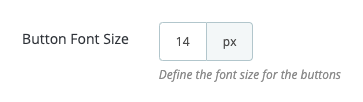
This option allows you to set the size of the text displayed in the action buttons.
Button background color
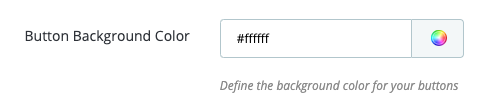
This option allows you to define the background color of action buttons.
Button font color
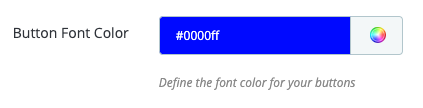
This option allows you to define the font color of the action buttons.
Once you’ve made your settings, don’t forget to click on “Save”.
Advanced Settings
Go to the “Advanced Styles” tab.
Classes to apply to the banner

This option allows you to add classes to your banner.
Attention: the different classes must be separated by a space.
Classes to apply to the content

This option allows you to add or edit the classes applied to the container of your text.
By default, the classes applied are: “col-xs-12 col-sm-10 col-md-10 col-lg-10”.
Attention: the different classes must be separated by a space.
Classes to apply to the buttons

This option allows you to add or edit the classes applied to the container of your buttons.
By default, the classes applied are: “col-xs-12 col-sm-2 col-md-2 col-lg-2”.
Attention: the different classes must be separated by a space.
Classes to apply to the customization panel

This option allows you to add or edit the classes applied to the customization panel.
By default, the classes applied are: “col-xs-12 col-sm-10 col-md-10 col-lg-10”.
Attention: the different classes must be separated by a space.
Advanced Styles (CSS)
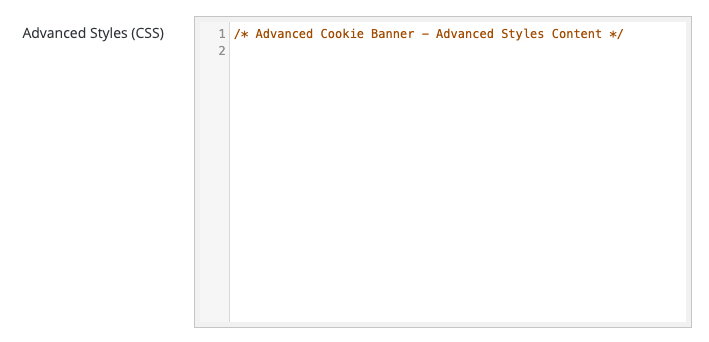
Finally, you can fully customize your styles using the module’s advanced style editor.
Selection and categorization of modules which set cookies
Go to the “Blocked modules list” tab:
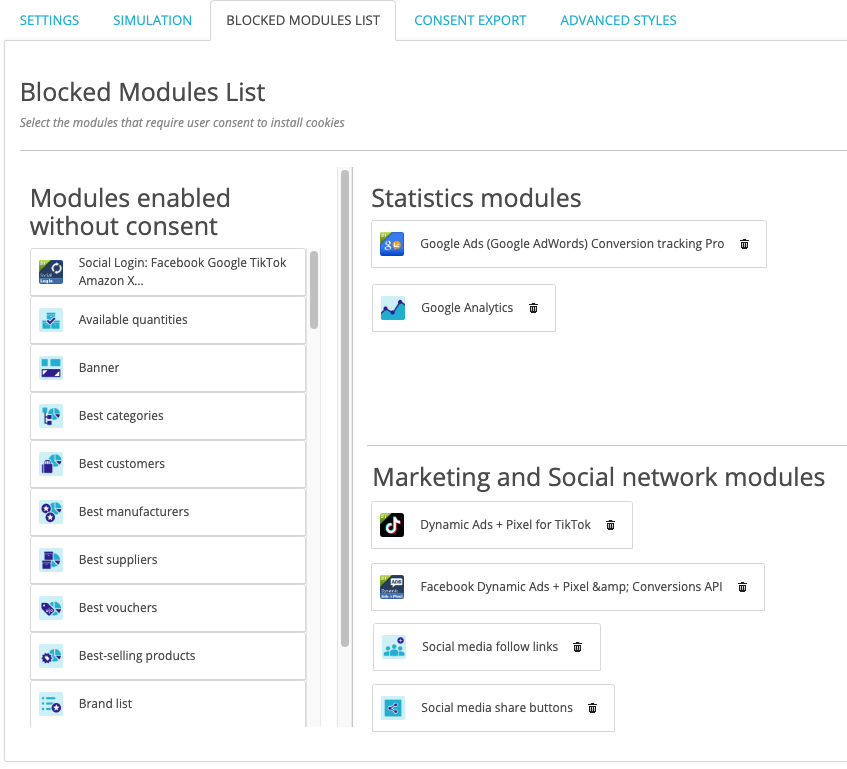
In the left-hand column, click on a module that installs cookies and drag it into either the “Statistics modules” section or the “Marketing and Social network modules” section depending on its nature and the reason it installs trackers. Do the same with all modules that require the consent of your users.
Check that the modules remaining in the left-hand column do not require your users’ consent to operate.
If your visitors want to block only modules that use cookies for statistical purposes, then only the modules in the “Statistical modules” section will be blocked. Similarly, if they want to block modules that use cookies for marketing or social network purposes, then only the modules in the “Marketing and social network modules” section will be blocked.
They also have the option of blocking each module individually via the customization panel accessible behind the “Customize” link in the banner.
V – Consent export
Go to the “Consent export” tab:
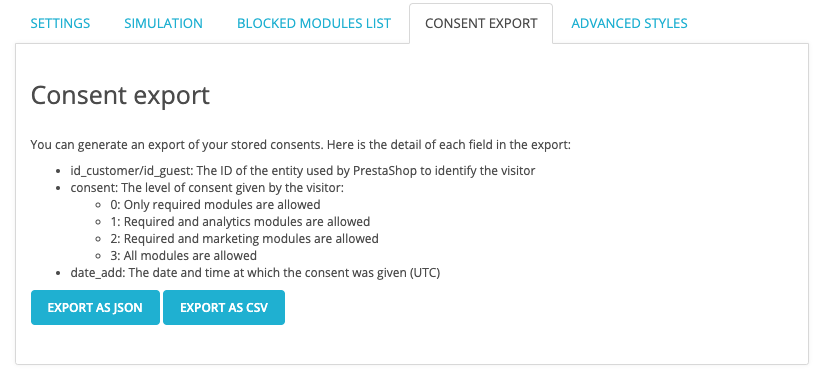
You can export your users’ proofs of consent in json or CSV format.
Here is the detail of each field in the export:
- id_customer/id_guest: The ID of the entity used by PrestaShop to identify the visitor
- consent: The level of consent given by the visitor:
- 0: Only required modules are allowed
- 1: Required and analytics modules are allowed
- 2: Required and marketing modules are allowed
- 3: All modules are allowed
- date_add: The date and time at which the consent was given (UTC)