Presentation
Advanced Tracking Wizard allows tracking tags to be easily inserted into your PrestaShop shop. You do not need any advanced knowledge. Thanks to the simple interface, you can create your own trackers or integrate existing trackers, e.g. Kelkoo, Criteo, Twenga, Zanox, Sociomantic, Net Affiliation or Webgains.
You can also add a different tracker by clicking Create tracker.
Installation
To install Advanced Tracking Wizard, see our tutorial on how to install a module here.
Maintenance Mode
This module has a maintenance mode. You can find the tutorial here
Configuration
You will need to be able to access its configuration panel to set the settings for the module. To this end, go to the back office of your shop and navigate to Modules. Look for Advanced Tracking Wizard and click Configure.
![]()
You are now in the admin interface for the module. This is where you can set the parameters of the module to suit your needs.

Create Tracker
This allows you to add a tracking code to your PrestaShop shop. You can add different tracking tools to those that are natively offered by the module or add your own code (advanced user). Name it, select the page, add the available tags in the places required, then activate it and you’re done.
The details of these options are given below.
Internal Name
![]()
This allows you to set an internal name for your tracker.
You can, for example, use this to differentiate between different trackers that apply to the same page but use different code.
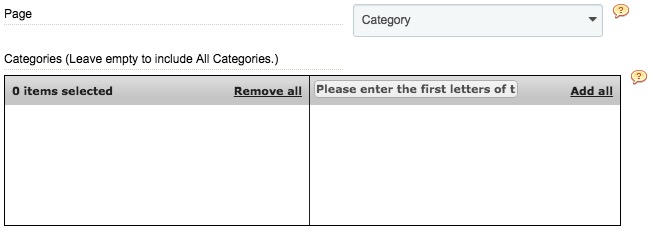
Page
![]()
This allows you to choose the page on which you want the tracker being edited to be used.
The list of tags available will change depending on the page selected. e.g. a cart ID will not be available on a Product page but will be available on a Cart page.
You are presented a table for Category and Product pages so that you can restrict the tracker to a specific category/product, should you so desire. Leave this table empty to include everything.
Example :
To restrict the tracker, just search for the category or categories/product(s) in the search box in the right-hand column, then click the plus sign to add the restriction.
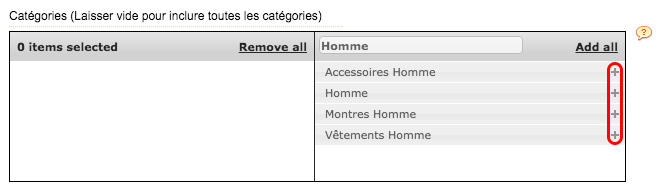
To delete a restriction, click the minus sign for the category/product to be deleted.

Enter your tracking code below
This is where you enter the code for your tracker.
Then click the tags available to insert them at the cursor position.
Example:
NB. You need to have chosen a page from the list of Pages for tags to appear.
Activate tracker
![]()
This allows you to activate or deactivate the tracker once it has been created.
You can then edit this setting in the list of trackers (this list can be found on the home page of the configuration panel for the module), by clicking the ![]() icon.
icon.
When the icon is green, the tracker is activated; when the icon is grey the tracker is deactivated.
Load a tracker
![]()
This option allows you to load a tracker from a specialised site such as Kelkoo, Criteo, Twenga, Zanox, Sociomantic, Net Affiliation or Webgains.
For each of these sites you will need your personal ID provided by the site to be able to load the tracker.
Finally, you can choose whether or not to activate a tracker that you have loaded.
NB: the trackers available here are those that have native support. You can add a tracker other than those given here by using the Create Tracker button.